
The process of repotting an orchid requires a little bit of care. Because orchids can be susceptible to diseases, you should always sterilize all tools and equipment. To begin, you should loosen the roots and clean them well. Then, fill the pot with potting medium until the leaves are level with the top of the pot. Finally, repot your orchid. It should be ready for blooming again in 18 to 24 months.
Orchid plants don’t grow like other houseplants. Instead of putting out roots in a pot of soil, they exist in a container of loose materials such as bark, charcoal powder, and moss (or coconut fiber). Repotting can be the most finicky time for orchid plants because they are susceptible to disease and you’ll be exposing the roots. But with a little bit of care, you can transport orchid plants with great results and continue to enjoy their beauty for months to come.
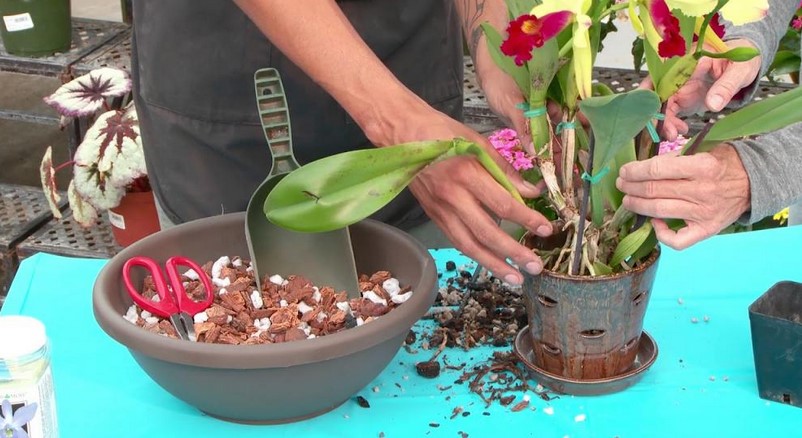
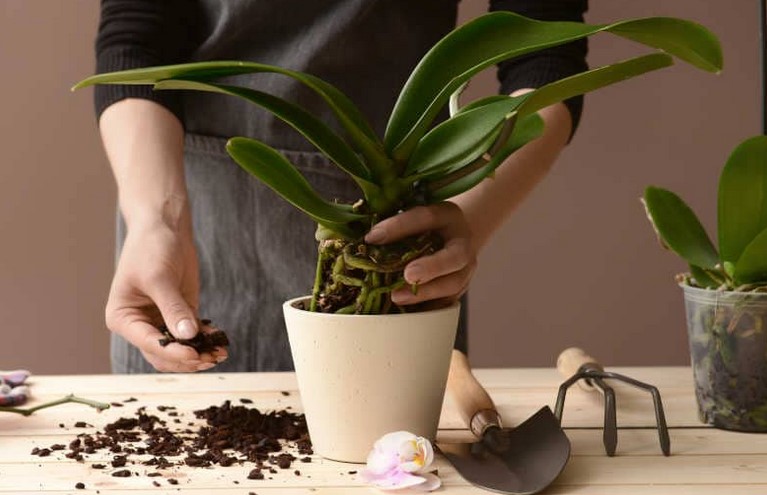
To repot your orchid, you need to loosen the roots. You can use a knife or pair of scissors to remove the roots. You should also trim off any dead, rotten, or soggy roots. After removing the dead roots, place the plant into the new pot. Make sure the crown of the new pot is level with the top of the new pot. Once you have inserted the new pot, you can then add a layer of orchid potting mix.
You may have to remove the old potting mix and plant, but don’t hurt the orchid! Remove any pieces of bark stuck in the root ball. You can use a stream of water to clean out the roots. You can add the old potting soil to your compost pile. Similarly, you can use scissors to remove dead leaves and dying roots. When you have finished with the repotting process, you can recycle the used orchid potting mix and slatted cedar basket.
Some types of orchids need to be divided. Divided into three pieces, each with three pseudobulbs on either side, the plant will have more than one root. After dividing, you can dust the divisions with sulfur and cinnamon. Once you have placed the new bulbs in the new pot, make sure to place the potting mix on the bottom of the pot. If you have a sympodial orchid, divide it into two, or you can tease apart its roots.
The process of repotting an orchid should be as easy as possible. The first step is to select a new pot. The plant’s height and size will determine the size of the pot. To determine the size of the pot, you can hold the plant below the rim, and measure the space between the roots and the bottom of the pot. It will take at least one full day of watering for the new pot to soak up all the water in the pot.
To repot an orchid, make sure the roots curl into the pot and the new potting medium is evenly spread around the roots. You can also stake the plant to help it establish its roots. This will help prevent the plant from falling over if the roots are too long. Once you are done repotting, you can start the process of transplanting the orchid. The process can be done by following the steps below.
To ensure a successful transplant, the roots of your orchid must be clean and healthy. A fine-textured soil can cause bacterial rot and fungal disease. However, if you take care of your orchid, it will thrive. Once you follow these tips, repotting can be a rewarding and easy process. There are many orchid varieties, so find the perfect orchid for your home. You will be surprised by the variety of orchids you can find.
Although it may seem like a daunting task, repotting your orchid plant is actually quite simple. By providing clean containers with the right environment and materials, the transition will go smoothly, allowing you to keep your plant healthy and thriving.